When the time comes to move to a new computer, follow these steps to set up your Mac just how you like it.
Setting up a new Mac, such as the new colorful iMacs or a MacBook Air with M1, doesn't have to be a scary process. Thanks to iCloud, the Mac App Store, and other cloud-based storage providers like Dropbox, this premise isn't nearly as terrifying as it used to be. But there are still a few steps you're going to want to make sure you go through when setting up your new laptop from scratch.
Here are the steps you should follow to set up a Mac and get it up and running as soon as possible.
Step 1: Set up your Mac
Before you can get to the fun of customizing your Mac, you should probably unpack it and set up the new Mac first. Logging into iCloud here will start the process of syncing your keychain, internet accounts, and Desktop & Documents folders (if you have them active), so it's good to do right off the bat.
Step 2: Reauthorize your internet accounts
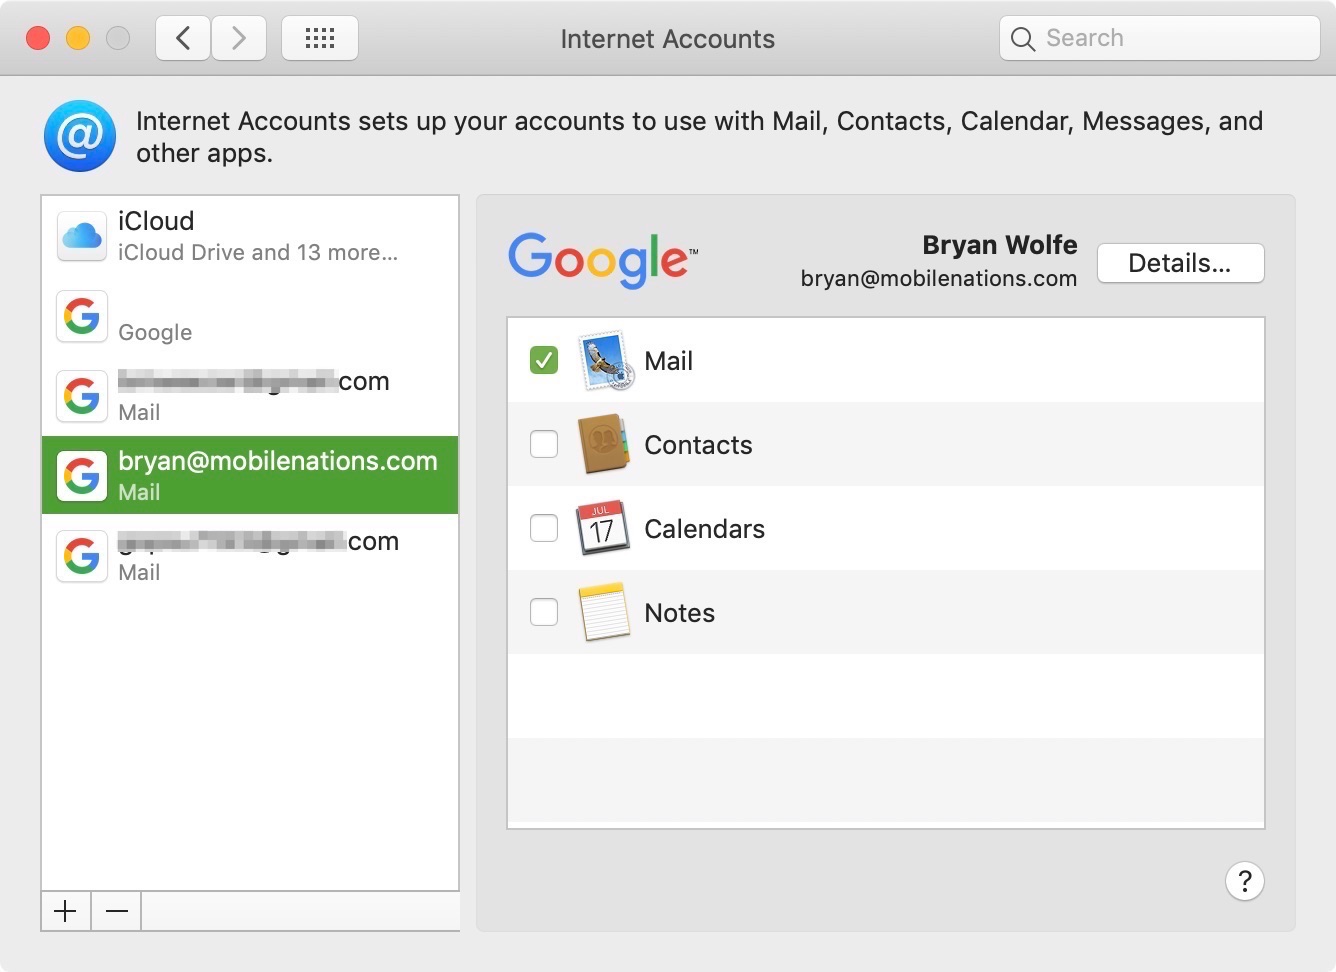
iCloud will sync all your internet accounts from another Mac, but any non-Apple account will have to be reauthorized (read: password re-entered) before you can use them again. As such, doing this first on a new machine is ideal.
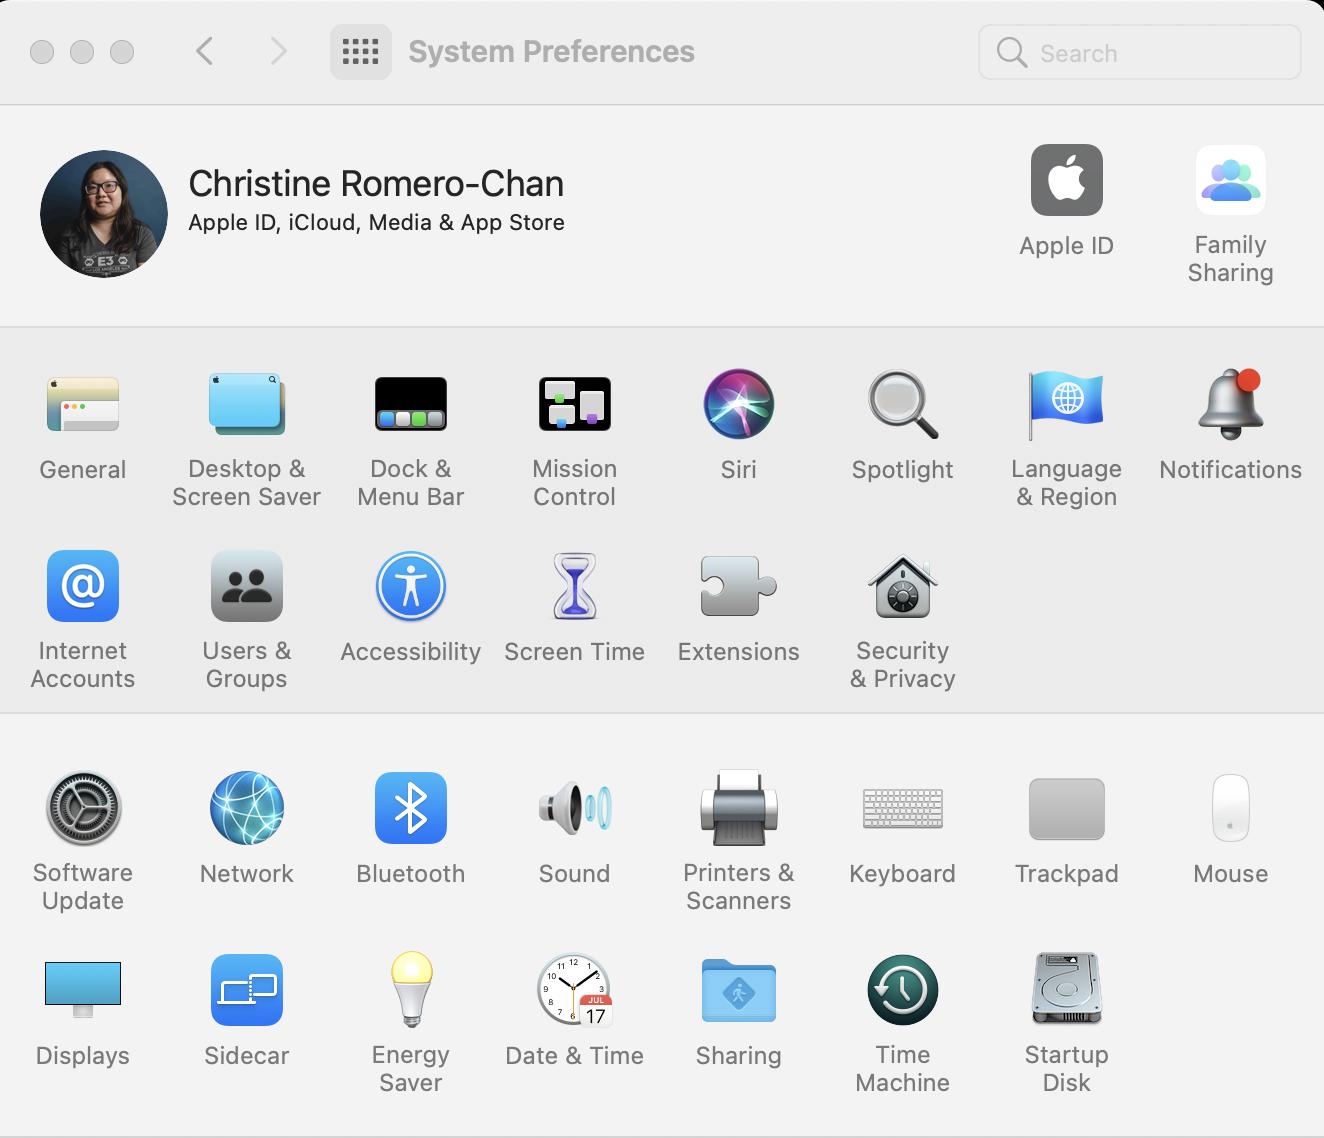
- Open System Preferences.
- Select the Internet Accounts icon.
- Click on the Account you wish to activate and check the appropriate boxes (Mail, Messages, Notes, and the like).
Repeat for each account you wish to reauthorize.
Step 3: Customize your System Preferences
While you're in System Preferences, you might as well customize some other aspects of your system. This includes, but isn't limited to:
- Whether you want Dark Mode for your toolbars (General)
- Changing your desktop picture and screensaver (Desktop & Screen Saver)
- Your Dock size and preferences (Dock)
- FileVault and Gatekeeper (Security & Privacy)
- Notification preferences (Notifications)
- How long you want the display to stay on before sleeping (Energy Saver)
- Touch Bar customization (Keyboard)
- Enable Dictation (Keyboard)
- Multitouch gesture customization (Trackpad)
- Alert sounds (Sound)
- Turn on Back to My Mac (iCloud, Sharing)
- Add other cards to Apple Pay (Wallet & Apple Pay)
- Customize your app preferences (App Store)
- Add VPNs if necessary (Network)
- Pair any Bluetooth accessories like headphones (Bluetooth)
- Add any other fingerprints (Touch ID)
- Add additional user IDs (Users & Groups)
- Add any restrictions (Parental Controls)
- Change Siri preferences (Siri)
- Set up Time Machine (Time Machine)
- Add any Accessibility preferences (Accessibility)
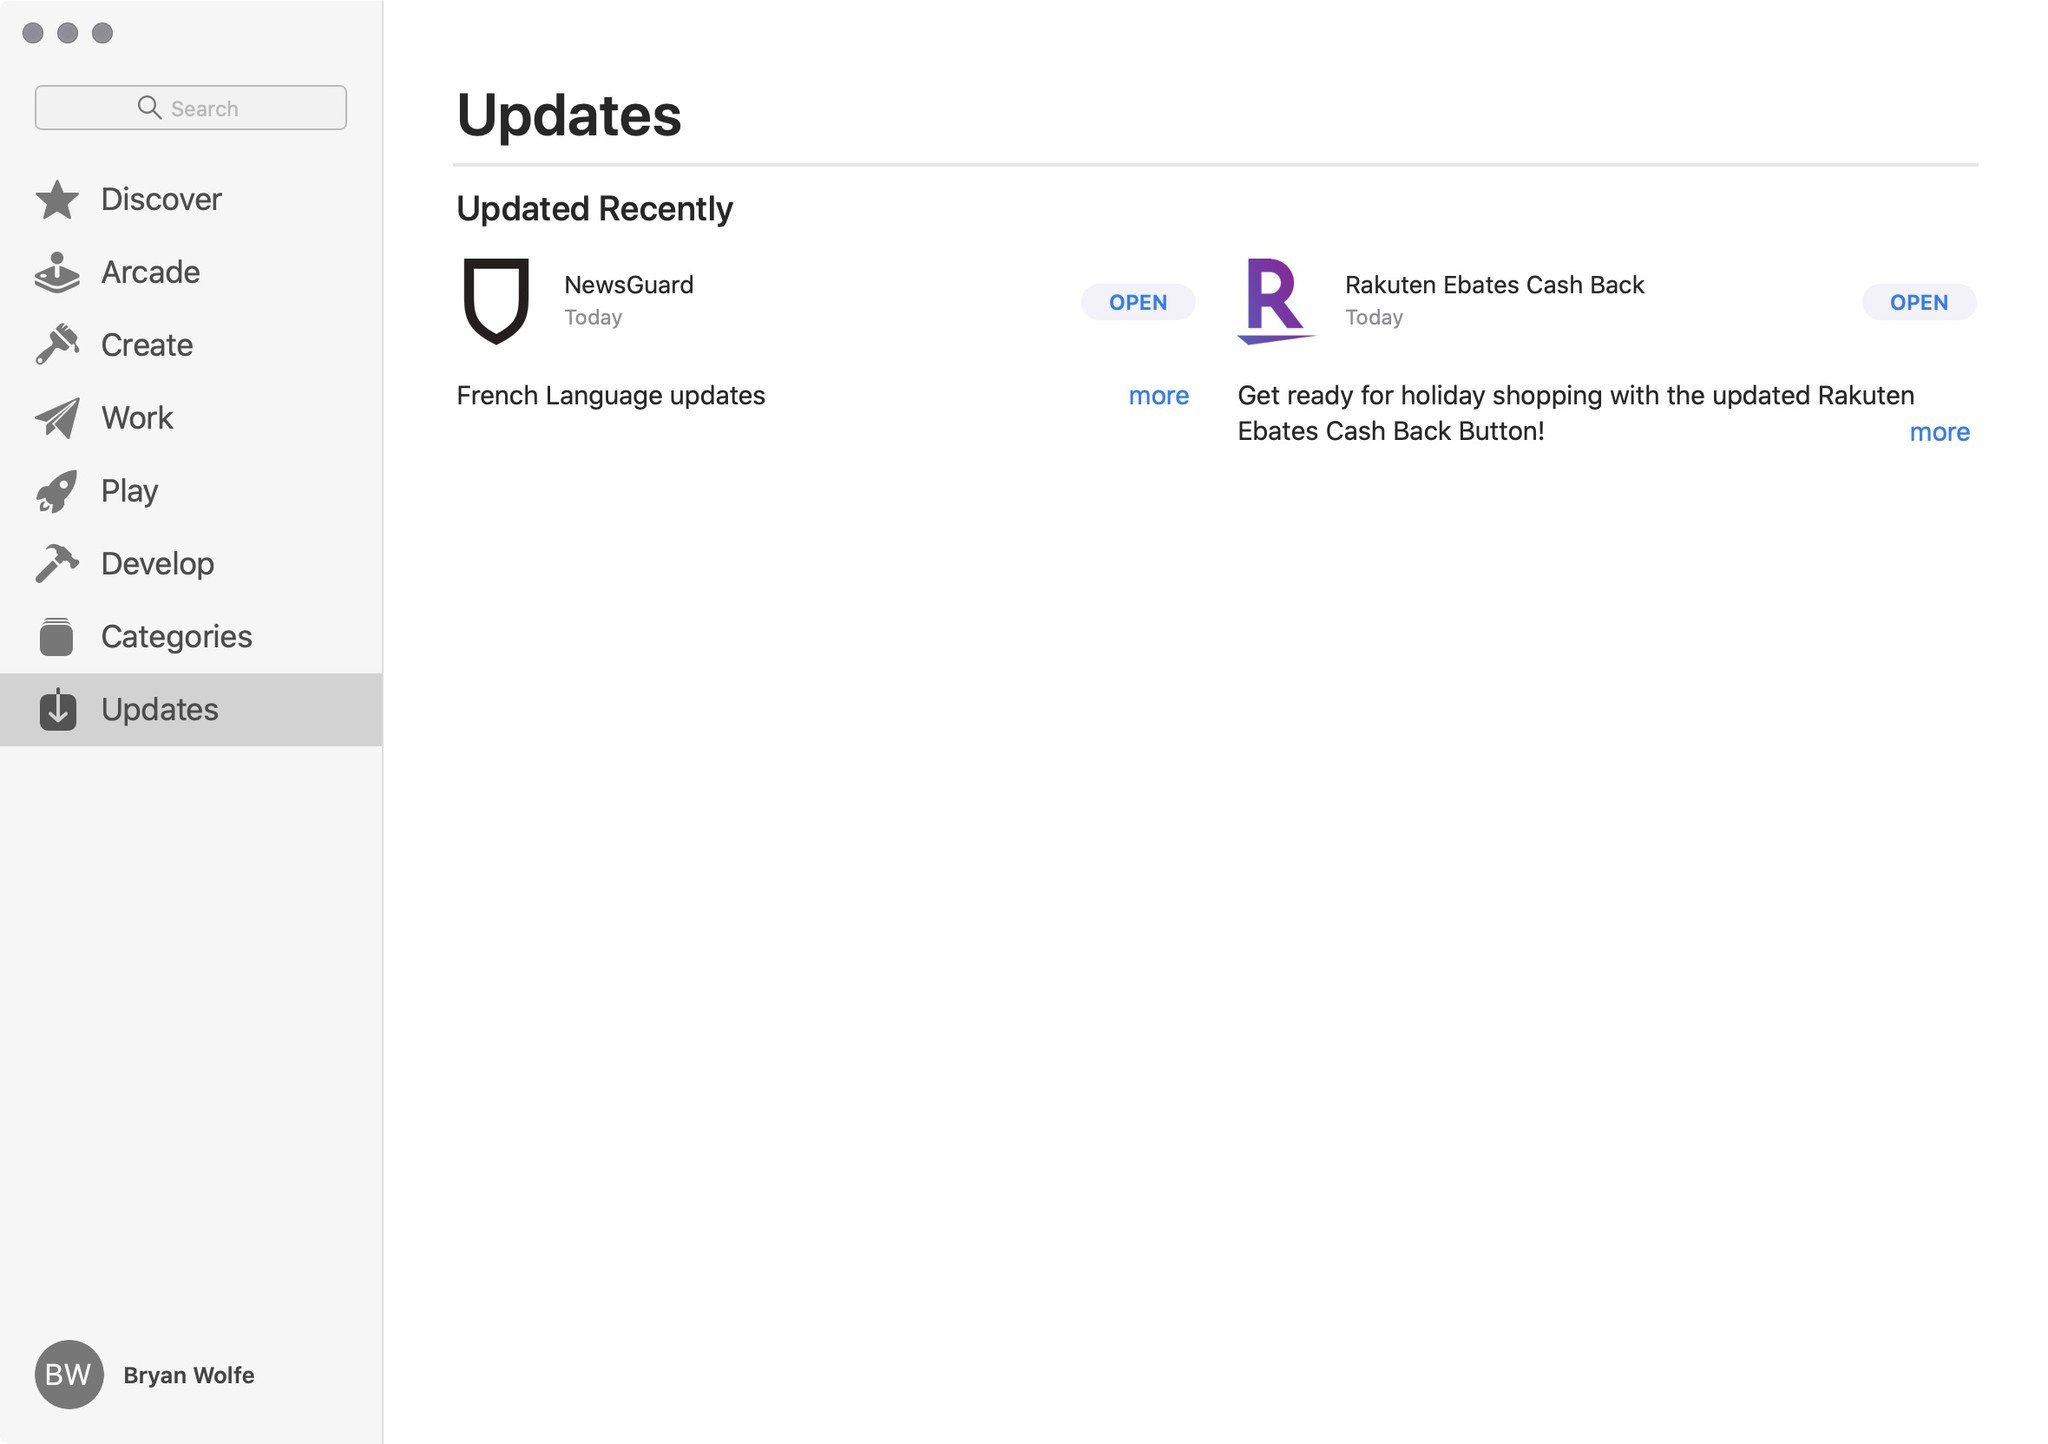
Step 4: Check for Software Updates
New Macs should ship with the latest and greatest software, but on the off-chance that you're not on the latest version, check for new updates:
- Go to the Apple menu in the top left corner.
- Select App Store.
- Click on the Updates tab.
- Install all necessary updates.
Step 5: Redownload Mac App Store apps
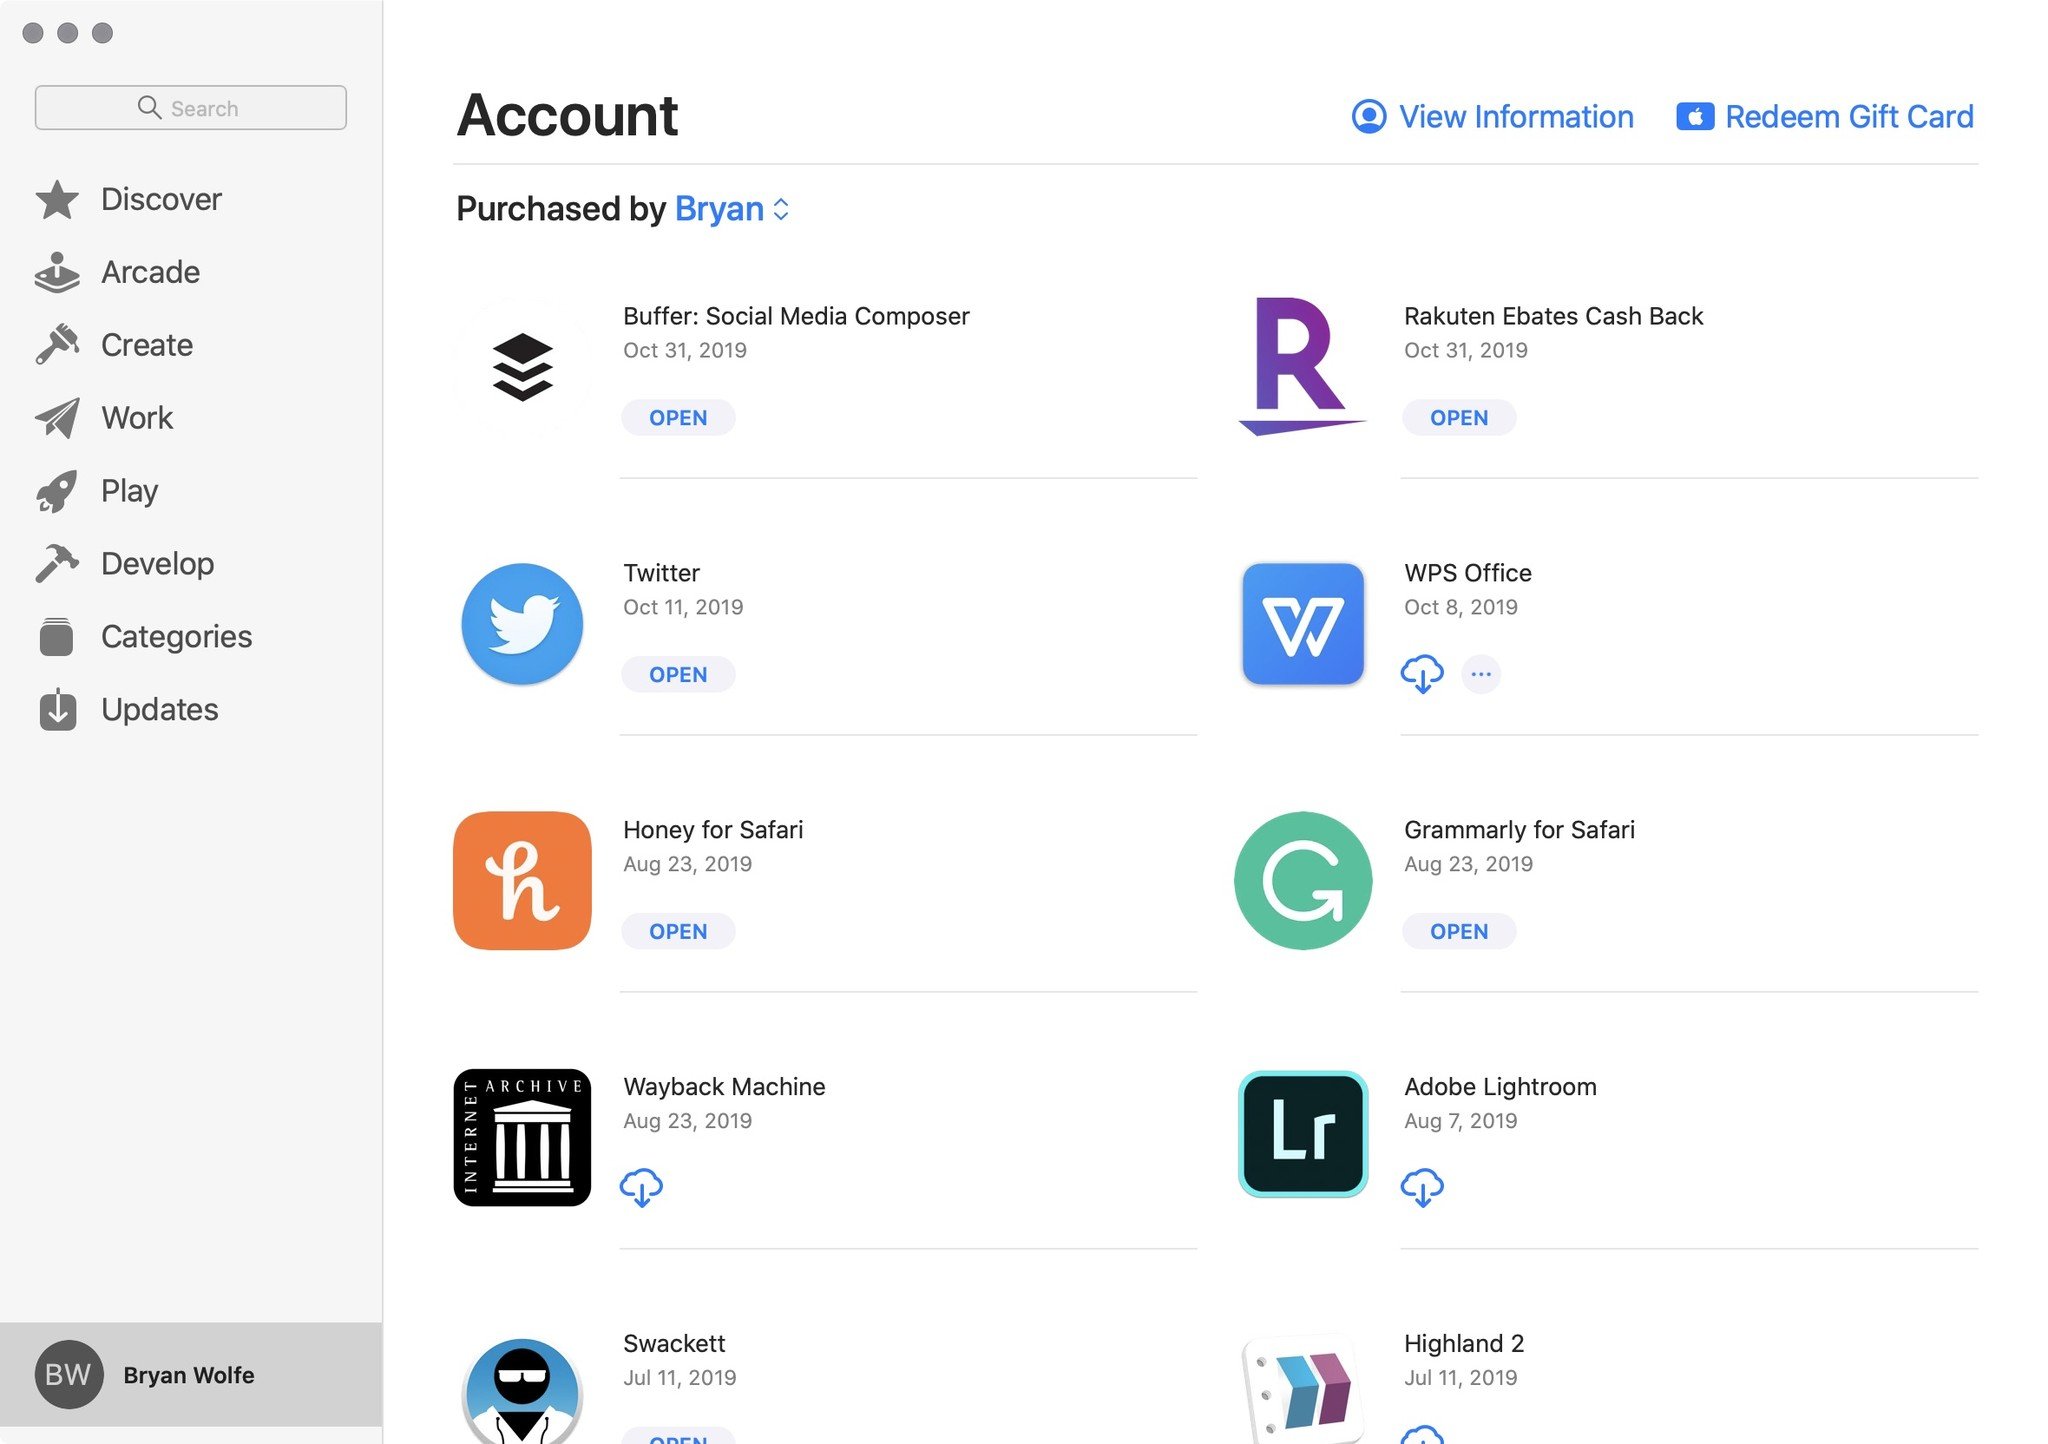
Next, you should redownload Mac App Store apps that you need on the new computer.
- Go to the Apple menu in the top left corner.
- Select App Store.
- From any tab in the Store, click on your Profile at the bottom left of the screen. (You may have to sign in to iCloud again.)
- Download any previously purchased apps you wish to install on your Mac. Look for the download symbol.
Step 6: Re-download non-Mac App Store apps
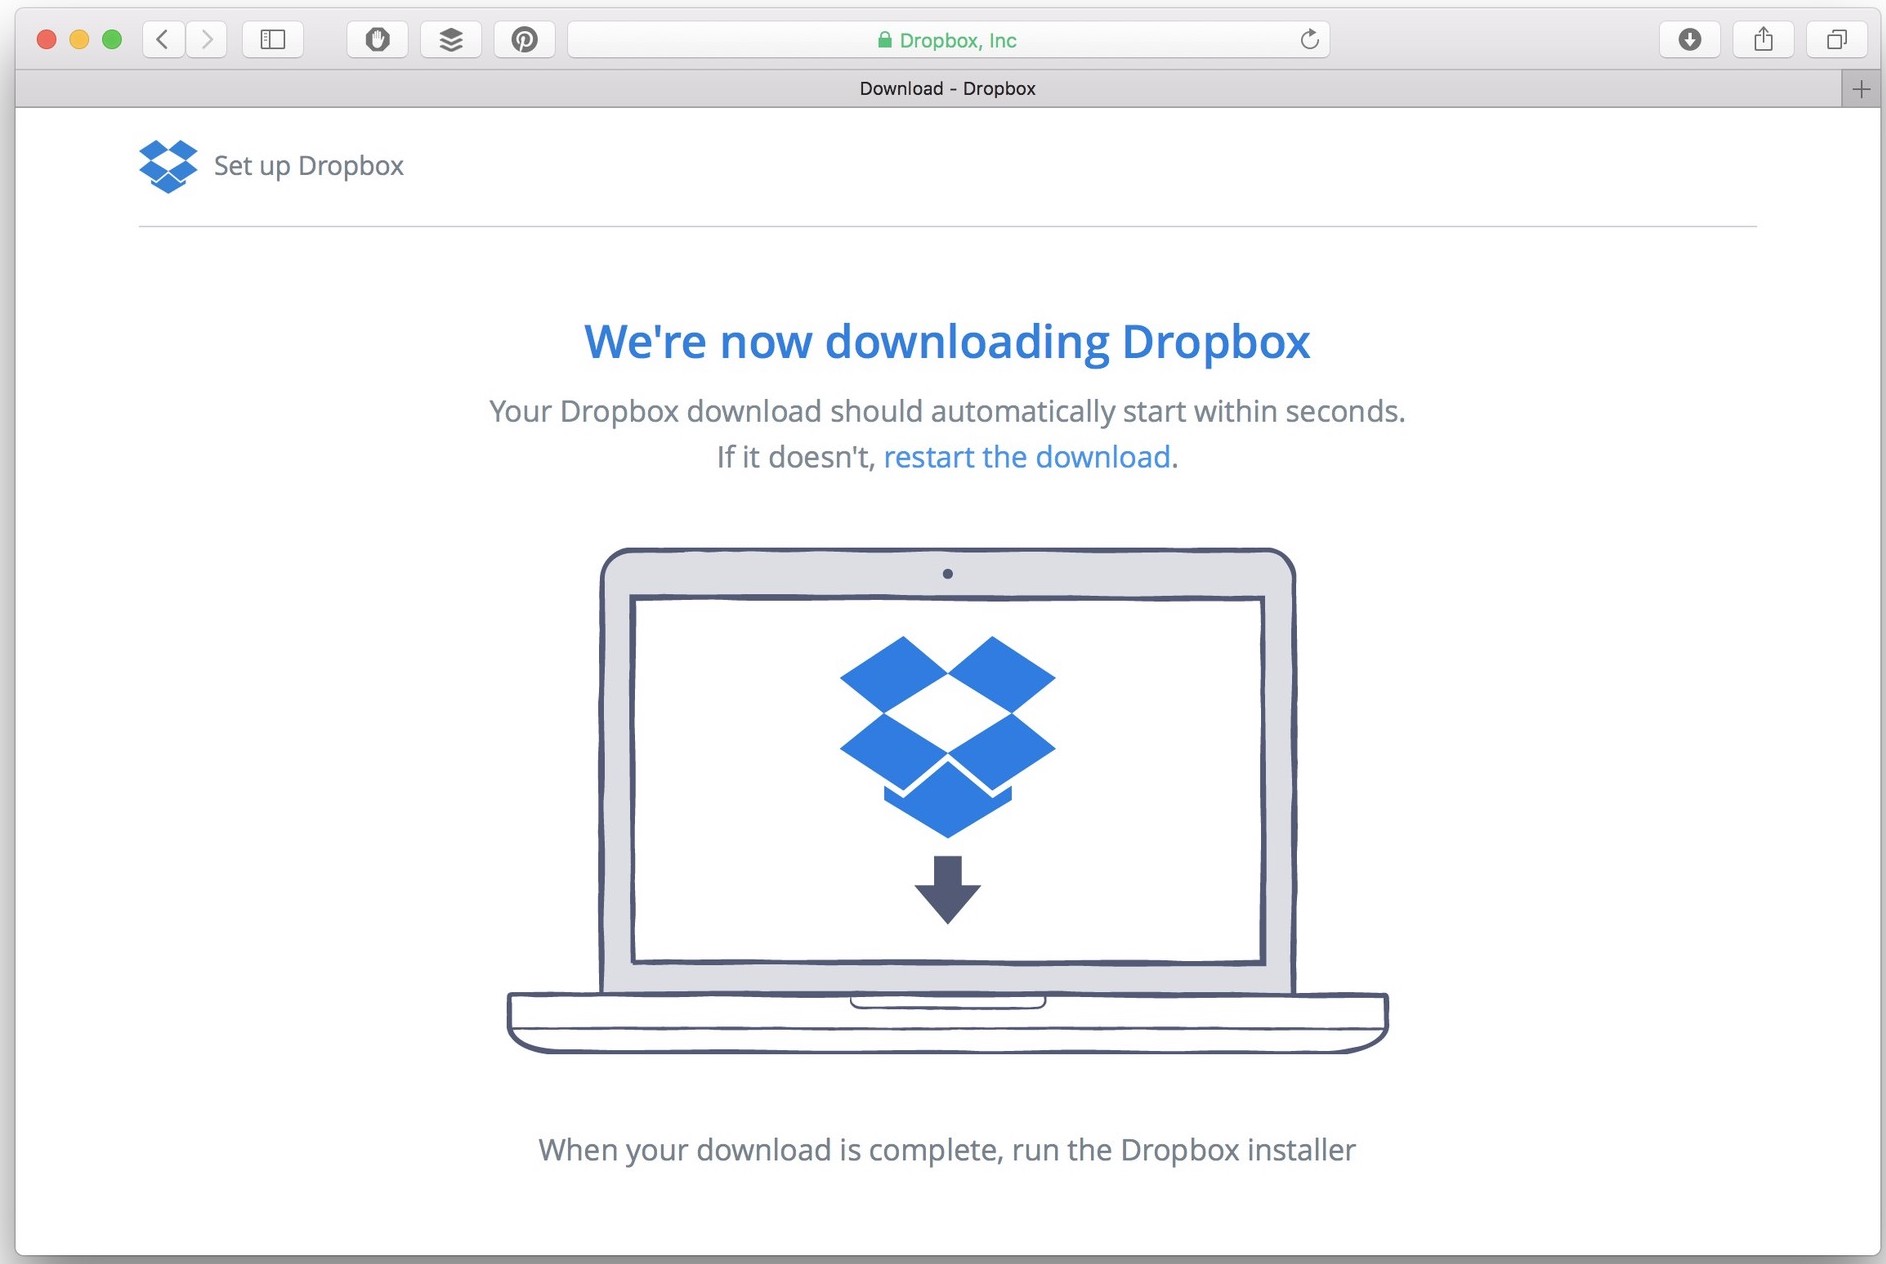
If you use any Adobe products or other non-Mac App Store items, you won't be able to re-download them from the App Store: Instead, open Safari and download them from their respective websites. A big one here is Dropbox — not only is it good to get your folders synced, but if you use Dropbox for syncing your information (say, 1Password), you'll want it installed so that your passwords are easily accessible.
Step 7: Set up your password manager
Before you get into customizing Safari and your other apps, make sure you can sign in to all of them by setting up your password manager. (You do have a password manager, right? If not, now is a great time to think about getting one, so you don't have to scrounge for passwords any time you need to set up a device from scratch.)
If you don't have a password manager, make sure to check out our recommendations for the best password manager apps for Mac right now.
Step 8: Customize the Finder, Safari, and other app views
The View menu allows most app windows to be pretty thoroughly changed, depending on your preference; a must-customize list includes Finder, Safari, and Mail, but pick the apps you use most often to fix first!
This is also the time you might want to customize the Touch Bar for each app if you have a compatible Mac, and or add Favorites to Mail's toolbar (which don't sync via iCloud, for some reason).
Step 9: Add Safari extensions
Most of us use at least one Safari extension on our Macs, whether that's a Pinterest pinner, Buffer socialer, or ad blocker. After you've customized Safari, it's a great time to configure your Safari extensions. Make sure to check Apple's Safari Extension Gallery to see all available Safari extensions you can grab.
Step 10: Log in to common websites
Whether your internet addiction includes Facebook, Quora, Twitter, Google, or Reddit, chances are there's a web service you can't live without. Go ahead and log into those now, so you don't have to worry about scrounging around for two-factor codes. (You do have two-step authentication set up for those other accounts, right?)
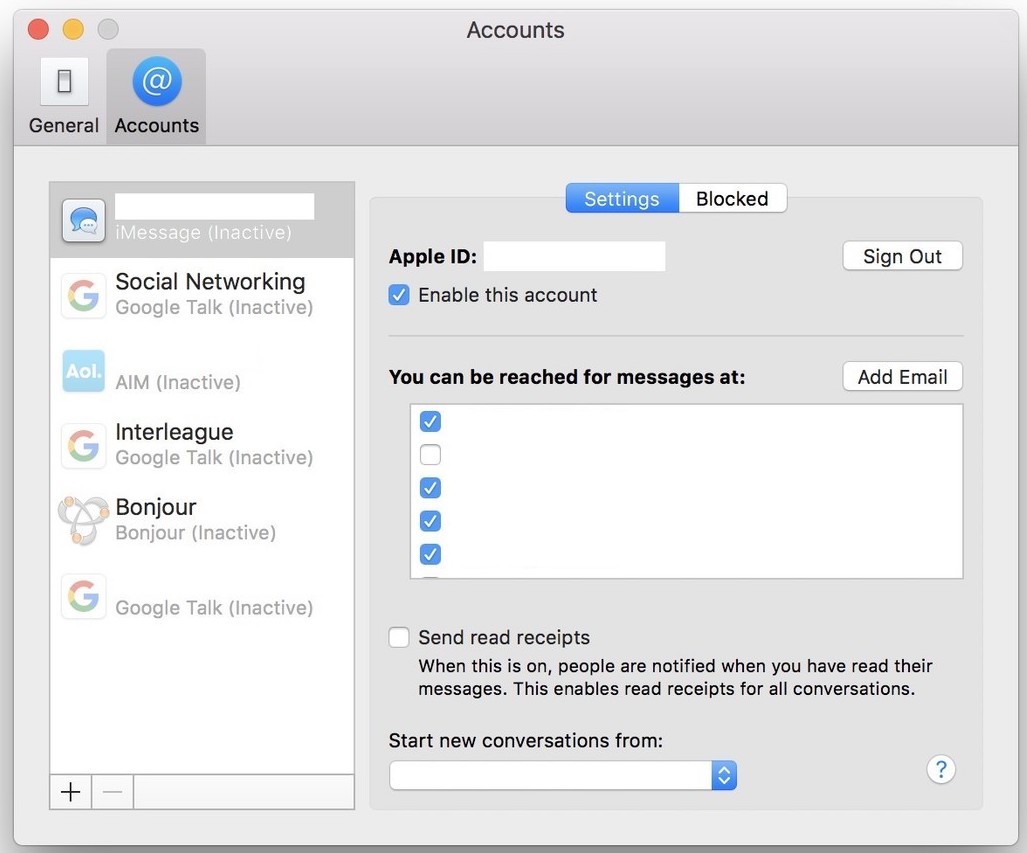
Step 11: Make sure Messages is sending from the right iCloud address
When you set up a computer from scratch, you miss out on a critical part of your history: your iMessage archive, which is encrypted and only synced as part of an iCloud backup. As such, you'll need to re-customize your Messages settings, including which address you send from by default. Otherwise, people may not understand why "terribledadjokeslol@icloud.com" is suddenly sending them iMessages.
For step-by-step instructions, make sure to check our How to set up iMessage on Mac guide.
Step 12: Sign in to Music and Photos
Want to use Apple Music and iCloud Photo Library? You'll need to open Music and Photos before doing so and likely log in with your Apple ID and password.
For more information, take a look at our iCloud Music Library and How to set up iCloud Photo Library on Mac guides.
Step 13: Enjoy your new Mac!
After all of that customization, take some time to enjoy using it! It's new and shiny, after all.
Don't forget to make a Time Machine backup of your Mac this time around, so you don't have to set everything up from scratch again.
Are you still looking for a new Mac?
If you're still in the market for a new Mac, make sure to check out what we think are the best Mac desktops and best MacBooks for 2021.
What's on your must-customize list when setting up a Mac?
That's the list! But what do you folks do when setting up a Mac from scratch? Let me know in the comments.
Updated May 2021: Updated for the latest version of macOS.



0 Commentaires