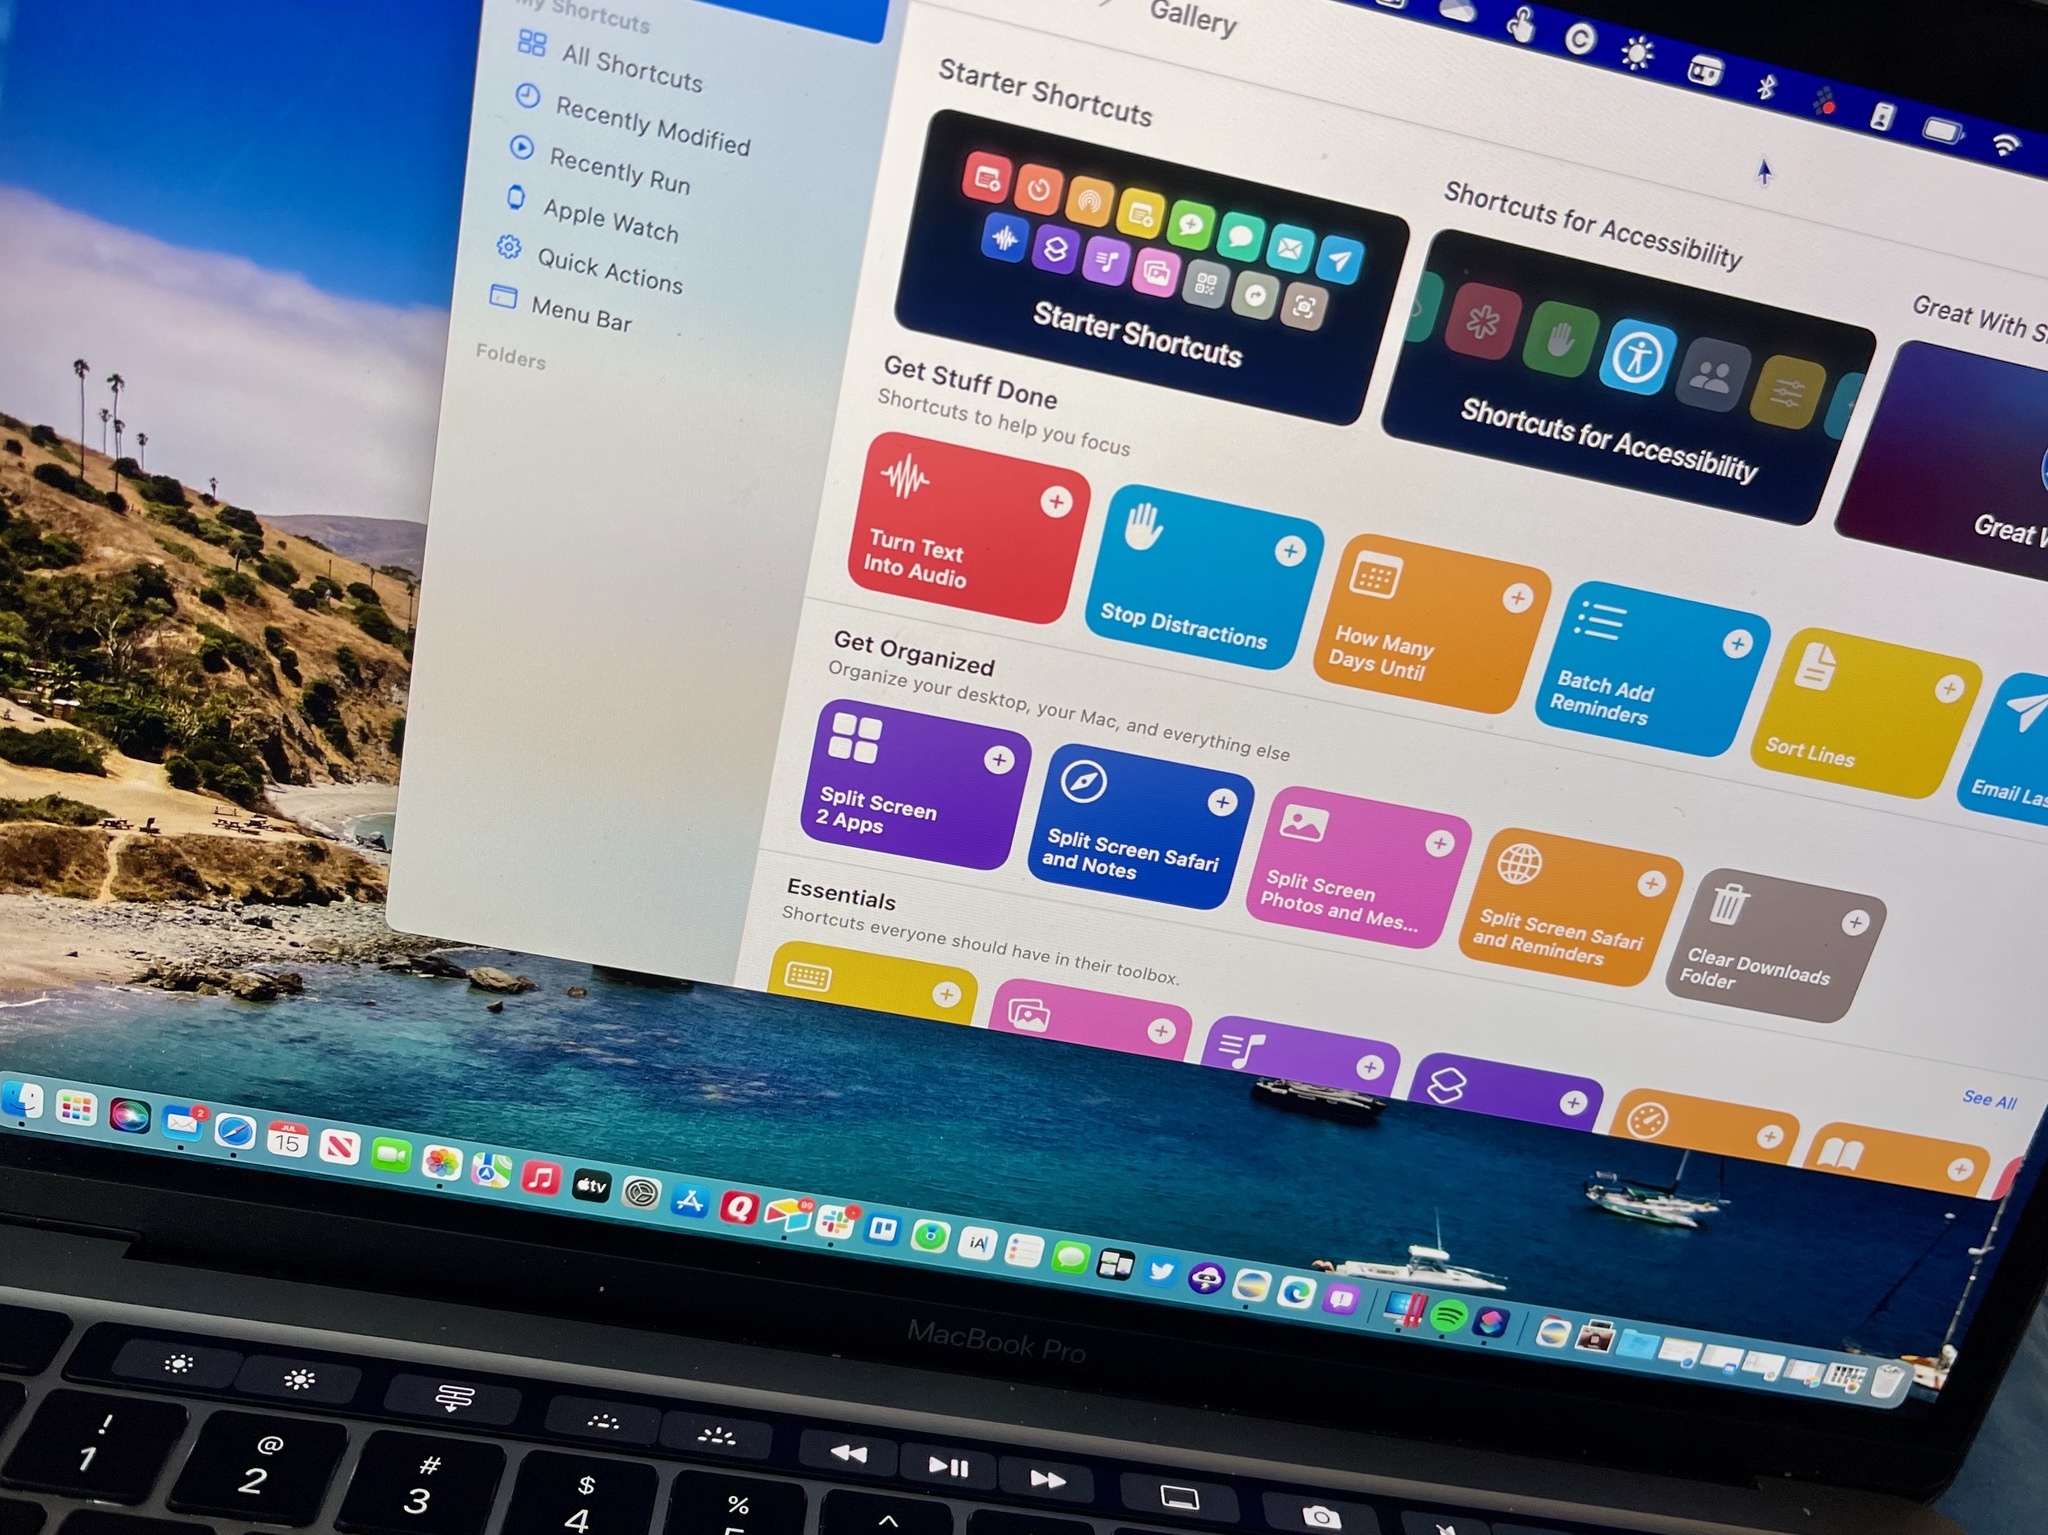
The new tool goes live this fall with macOS Monterey.
Shortcuts on Mac are becoming a reality thanks to macOS Monterey. Like Shortcuts on iPhone and iPad, the tool lets you automate tasks for apps and services using a Shortcuts editor. Once created, you can run them from your Dock, menu bar, the Finder, Spotlight, or with Siri on the best Macs.
Here's a first look at how to create Shortcuts on Mac. Because macOS Monterey is still in beta, Shortcuts isn't a finished product. Come back to this article for updates.
Apple occasionally offers updates to iOS, iPadOS, watchOS, tvOS, and macOS as closed developer previews or public betas. While the betas contain new features, they also contain pre-release bugs that can prevent the normal use of your iPhone, iPad, Apple Watch, Apple TV, or Mac, and are not intended for everyday use on a primary device. That's why we strongly recommend staying away from developer previews unless you need them for software development, and using the public betas with caution. If you depend on your devices, wait for the final release.
How to find and install prebuilt shortcuts
The easiest way to get started with Shortcuts on Mac is to install Apple's prebuilt shortcuts. To do so:
- Open the Shortcuts app on Mac; it's located in the Applications folder.
- Click Gallery at the top left.
- Choose a shortcut from the Gallery.
- Click Add Shortcut..., then following the shortcut-specific instructions on the screen.
-
Repeat each step to add additional Shortcuts.
How to create shortcuts
Shortcuts are designed to adapt to fit what you need. Because of this, Apple makes it possible to create new ones and edit the ones you already have. You can create easy shortcuts that include two-step actions or go long and create more difficult ones that require more work. For now, let's see how to create simple Shortcuts on Mac.
- Open the Shortcuts app on Mac.
- Choose All Shortcuts on the left side of the app.
-
Tap the + button in the upper-right corner.
- Tap one of the options presented to you under the Categories tab or skip to step 5.
- Favorites: If you have any actions that you've marked as favorite, they'll appear under here.
- Sharing: Sharing actions like interacting with your device's clipboard, sending a message through email or Messages, AirDrop, social app actions, and more.
- Documents: Actions for working with files, from appending to a file, creating folders, marking up documents, working with the Notes app, and text editing.
- Web: Get and expand URLs, perform a GIPHY search, get items from RSS feeds, add something to your Reading List, and more.
- Scripting: The actions under Scripting include commands to open particular apps, control over device functions, control flow, interacting with dictionaries, and a whole lot more.
- Suggestions: Shortcuts will offer suggestions based on frequent actions, as well as options for modifying repeated actions to fit a specific parameter. Suggestions come from both Apple and third-party apps.
- Location: Location-based actions that can start or be added to your shortcut.
- Media: Actions for recording audio, using the camera, get app details from the App Store, and playing music and videos, and other media-related activities.
- Tap on the options under Apps if you want to create an app-specific shortcut.
- Follow the additional steps in the app.
How to share shortcuts
To share shortcuts with other users:
- Open the Shortcuts app on Mac.
-
Choose All Shortcuts on the left side of the app.
- Right-click on the shortcut you want to share.
-
Choose the way to share. Options include Mail Messages, AirDrop, Notes, and Reminders. You can also copy the link.
Questions?
We'll be updating this article once macOS Monterey is released to the public. In the meantime, let us know if you have any questions in the comments below.


0 Commentaires